
Course Overview:
Raspberry Pi Pico is a small, inexpensive, microcontroller that can be used for all sorts of different projects. This course is divided into two parts:
- Part 1: Learn how to get started using this board by blinking both the integrated, on-board LED and an external LED in a circuit you will build.
- Part 2: Learn how to use buttons, potentiometers, buzzers, and PWM. You’ll play with LEDs and sound.
If you’re ready to open up the world of the Pi Pico microcontroller with MicroPython coding, then let’s get started!
What You’ll Need:
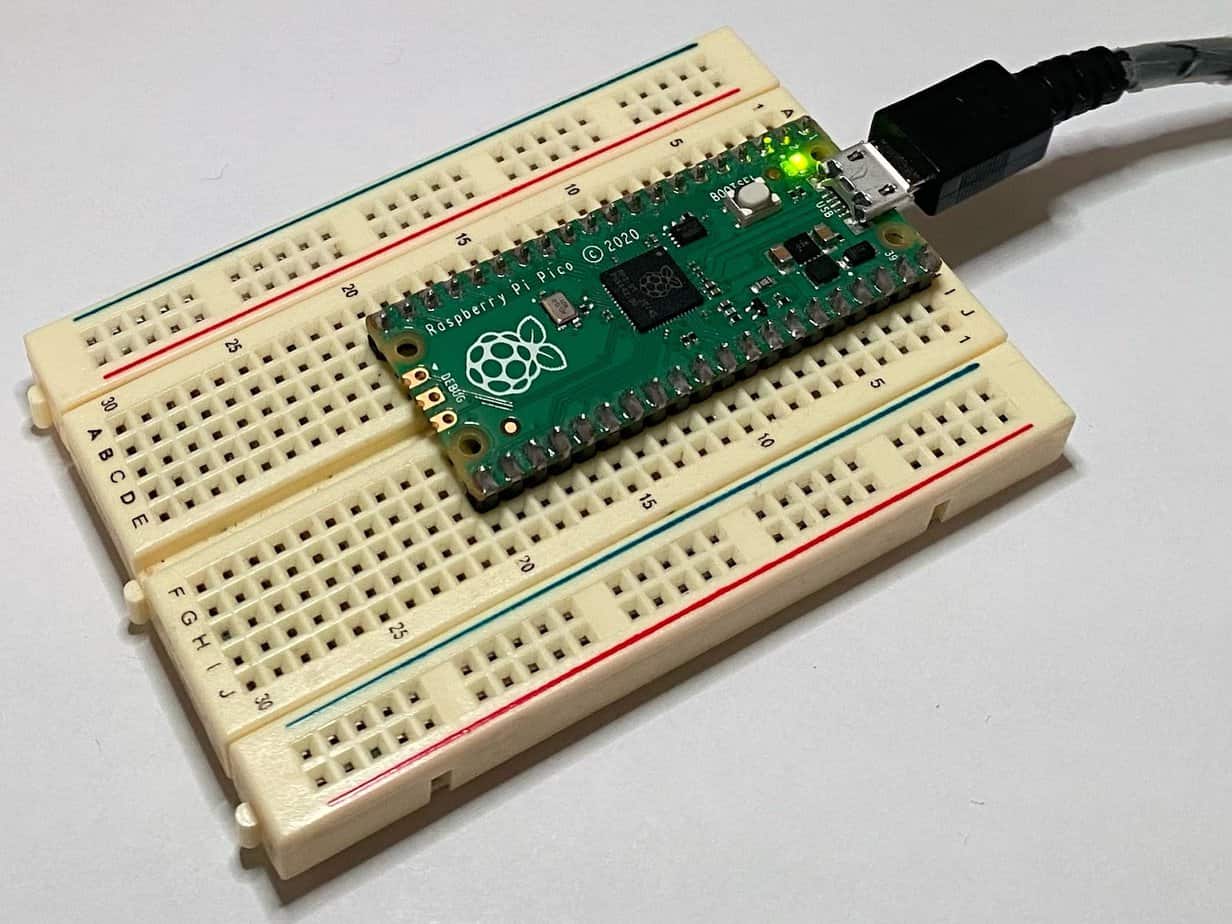
- Raspberry Pi Pico (or Pico W or Pico H)
- 2 rows of 20-pin header pins (if using Pico or Pico W which do not have headers)
- MicroUSB Cable
- Breadboard
- Jumper wires
- 1x LED
- 1x Resistor for the LED (between 100 and 300 Ω)
- 1x Resistor to use as pulldown (~1k – 10k Ω)
- 1x Pushbutton
- 1x Potentiometer
- 1x Piezo Buzzer
Tools You’ll Need:
- Soldering Iron (if Pico does not have header pins)
- Computer/Laptop for coding
...
Exclusive Content For Members
Hey there! Unlock your potential by accessing this premium resource and countless others on Ohmify. If you are already a member you can Log In Here. If not, click here to become a member and get instant access to this course.
Keep On Soldering!