Course Overview:
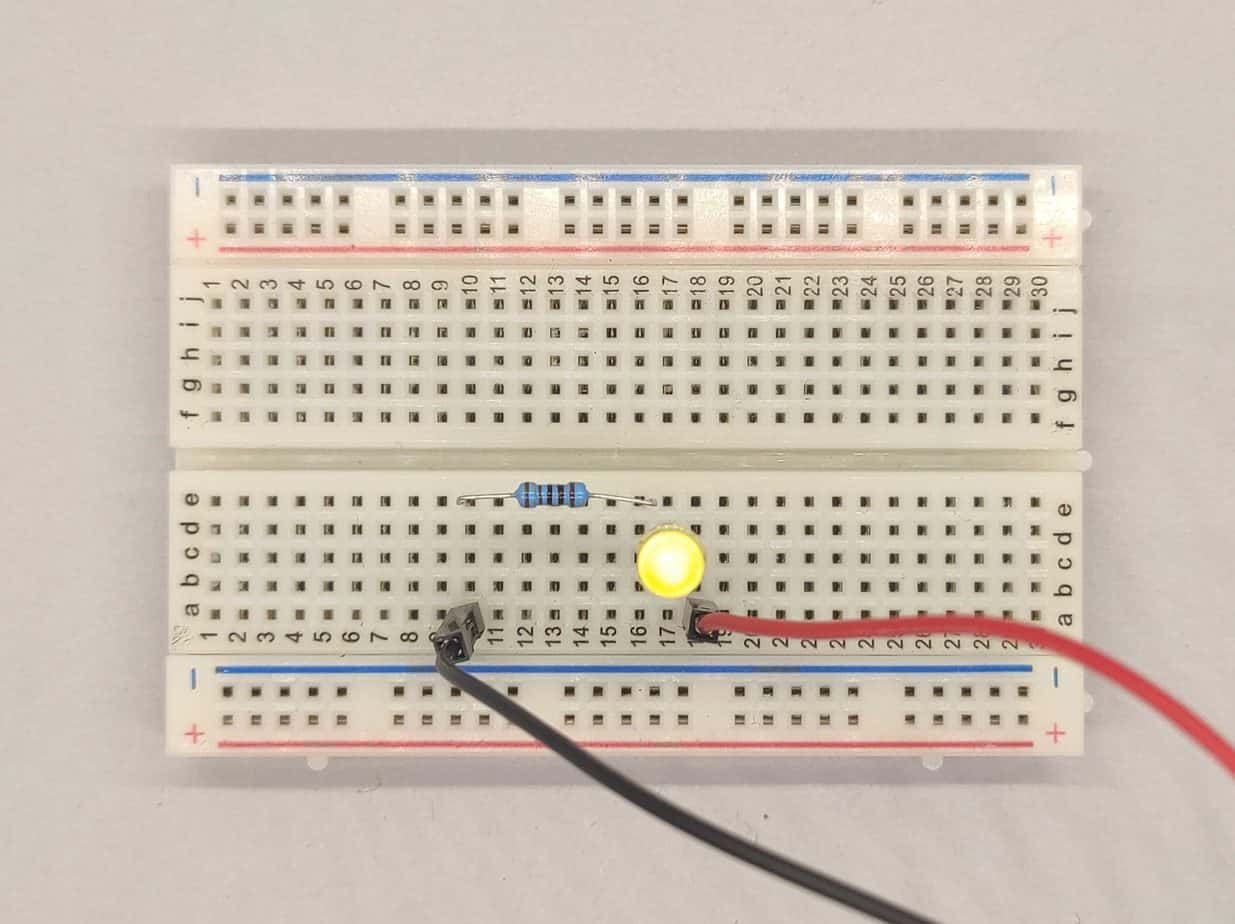
The Light-Emitting Diode (LED) is a really fun component that creates light. When you know how it works and how to use it you can create your own flashlight, model train indicators, toys with lights, party lights, Christmas tree lights, and much much more. Every project becomes better with LEDs!
In this course, you’ll learn the basics of LEDs so that you can choose resistors for LEDs with confidence, power up an LED strip, and much more. You’ll play with LED brightness, color mixing, and combine several LEDs in one circuit.


Components
To build the experiments in this course, you’re going to need:
- Breadboard
- 9V battery
- 9V battery clip
- Jumper wires
- 7 x Light-Emitting Diode (LED)
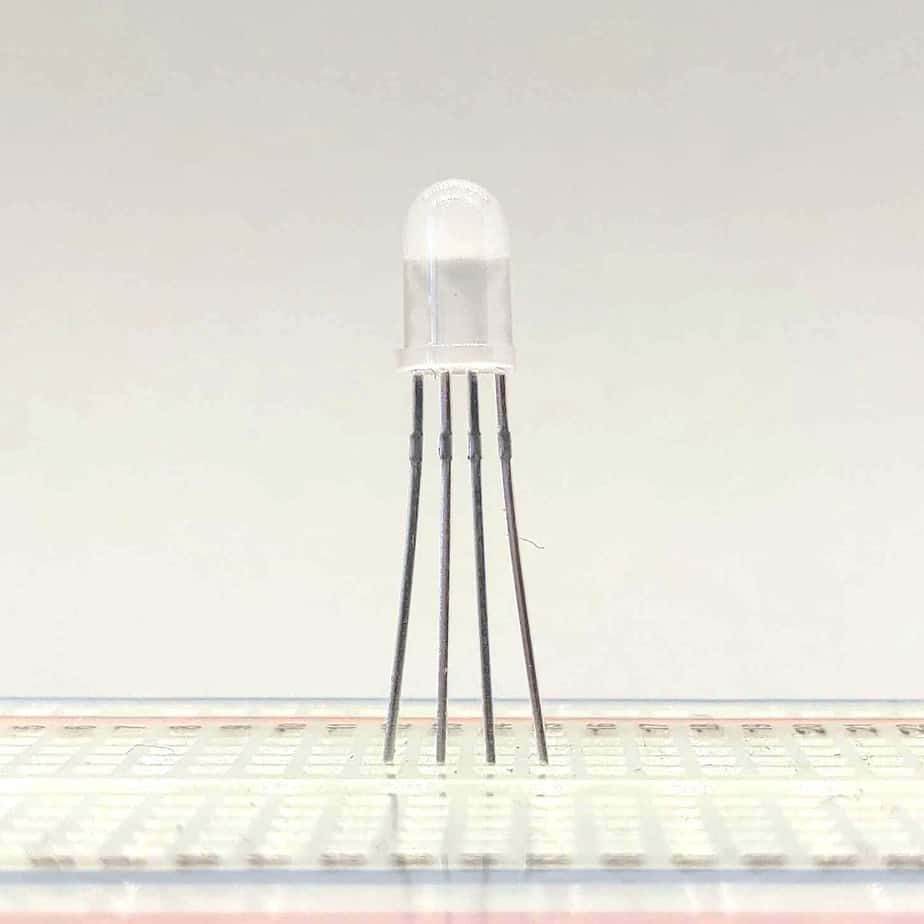
- RGB LED
- 100 Ω resistor
- 330 Ω resistor
- 470 Ω resistor
- 1 kΩ resistor
- 10 kΩ resistor
- Potentiometer 10 kΩ (or higher)
- Pushbuttons x3
...
Exclusive Content For Members
Hey there! Unlock your potential by accessing this premium resource and countless others on Ohmify. If you are already a member you can Log In Here. If not, click here to become a member and get instant access to this course.
Keep On Soldering!