
Course Overview:
In this course, you’ll learn to build an alarm clock from scratch! We’ll guide you through the process of building a fully functional alarm clock using common electronic components and tools. You’ll learn how to use a 7-segment display and a rotary encoder, plus you’ll program a microcontroller and assemble a circuit board.
By the end of this course, you’ll have a self-made alarm clock that you can be proud of and use every day.
Difficulty level: Medium +
Prerequisites
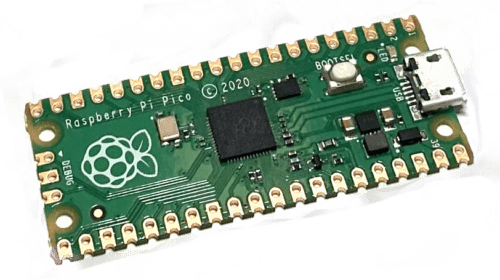
The main component of this project is the Raspberry Pi Pico. If you are new to Raspberry Pi Pico, you really should check out the Getting Started with Raspberry Pi Pico course before starting this one. But if you’re already comfortable using the Pico and want to dive deeper into doing projects, then let’s get started!
What You’ll Need
You will need the following components and tools to make this alarm clock.
For the initial prototype:
- Raspberry Pi Pico (H, W, or HW also acceptable)
- Adafruit’s 0.56” 4-Digit 7-Segment Display with I2C Backpack
- Rotary Encoder (PEL12S-4224S-N1024 will be used in this course)
- 4x 10 kΩ Resistors
- 2x 0.01 µF Capacitors
- Pushbutton
- Piezo Buzzer
- Breadboard
- Jumper wires
- MicroUSB data/power cable
Additional requirements for the finished design:
- Protoboard (We used a perfboard of 20×14 holes)
- 2 x 20-pin Female Header
- Short pieces of wire
- Solder
Tools:
- 3D printer (optional)
- Soldering Iron
...
Exclusive Content For Members
Hey there! Unlock your potential by accessing this premium resource and countless others on Ohmify. If you are already a member you can Log In Here. If not, click here to become a member and get instant access to this course.
Keep On Soldering!